

One of the most common ways to preserve chiles (and other garden veggies) is to can them. Canning green chilies will preserve your chili peppers for several years. So if you’ve got peppers coming out of your ears…it’s awesome to can and store.
Editor’s Note: Please let us know if you see any incorrect or incomplete information.
We try hard to bring you accurate and well-researched information from our experience and that of our writers and readers, as well as from scientific studies and research, plus traditional lore. If you find any mistakes to correct or content to improve upon, we’d be grateful to hear from you so that we can make it even better.
Supplies Needed for Canning Green Chili Peppers
- Rubber or plastic gloves
- Jars, with rings and lids
- Pressure cooker, pressure canner, or a water bath pot. Most come with their own necessary equipment:
- Jar lifter tongs
- Pot rack
- Canning funnel (optional but handy)
- Thick blanket, bath towel, or cooling rack
Which is Best for Canning Chiles: a Hot Water Bath or Pressure Canner?
It is strongly suggested to use a pressure canner for chillies; however, you may can chilies in a hot water bath if you add a 5% acid (like vinegar) to them, AND process the jars of chilis for an appropriate amount of time.
We cover canning process times (and weights) in more depth later in this article. Using acid to can peppers will alter the flavor, but that may be preferred by some people.
Optional Steps for Canning Chili Peppers
Whole, Sliced or Diced Chiles
You can leave your peppers whole, quartered, sliced, or diced up. Cut peppers can be packed into jars tighter (so you use fewer jars), though some people prefer whole peppers. It’s your choice!
Sweeten or Pickle the Peppers
If desired, you can make a brine for pickled or sweet pickled peppers. We cover how to make pickled peppers here.
Brines are surprisingly quick and easy to make, and they should be poured over your peppers prior to sealing them in their cans. Brine is made of vinegar, which adds a strong flavor that some enjoy and others do not, but it’s helpful because vinegar is known to prolong shelf life while preventing botulism.

Should You Remove Chile Seeds Before Canning?
Remove Seeds for Seed Saving and for Milder Chiles
If you want to seed-save, now is the time to do it. Your seeds will not likely germinate after the pepper has been blanched, steamed, grilled, broiled, or canned.
Even if you sourced your chilis from the grocery store instead of the garden, they are still likely to sprout. So now is the time to collect those seeds if you’re interested in starting a chili pepper garden next season.
Leave Seeds for Hotter Chiles
Removing the seeds ensures the peppers’ heat doesn’t intensify. If you like a very hot pepper, leave the seeds in the pepper. Most people in the US remove their seeds.

Add Other Ingredients
If you want to preserve your chili peppers for a specific purpose in the kitchen, you may add a few extra ingredients to layer in flavors. Some of the most common add-ins are:
- smashed garlic cloves
- peppercorns
- celery seeds
- mustard seeds
- honey
- vinegar
- oil
How To Can Chili Peppers
- GLOVES? Many prefer to use gloves for protection to prevent irritation or burning, especially with hot peppers. However, even with gloves, you can inadvertently rub your eyes or face, or inhale the fumes, so try to avoid touching your eyes and face, and wash your hands frequently, with or without gloves.
- WASH the chili peppers. No matter if they’re garden fresh or freshly home from the store, all peppers should at least be rinsed off to prevent possible spoilage due to foreign matter.
- PRECOOK the peppers. Chili peppers contain a lot of hidden air in the tissues, so precooking them removes this air to softening packing into the jars while retaining shape.
Cooking Options Include:- Steam
- Blanch in boiling water
- Blister the skin by your choice of:
- grilling
- broiling – to broil, place in a 400° F oven or broiler for six to eight minutes until the skins begin to blister black.
- burning the skins over an open flame
- roasting – enhances the flavor the most; same for all roasted vegetables
- COOL the peppers down, then remove the skins. For crisper skins, plunge them into ice water for a minute, then drain. Not all of the blistered black parts will come off; it’s perfectly acceptable to leave them on the pepper when canning.
- ADD a half teaspoon of salt per pint, or a quarter teaspoon of salt per half-pint, if desired.
- FILL the jars with peppers, then top them with freshly boiled water or brine. Leave a one-inch headspace.
- CAP with lids and rings. You can reuse lids, but you run a greater chance of failure to seal, so reusing lids for vacuum sealed canning is not advised but may be done. Rings should be fingertip tight, and not overtightened. Too-tight lids will not let the air escape, meaning the jars won’t seal.
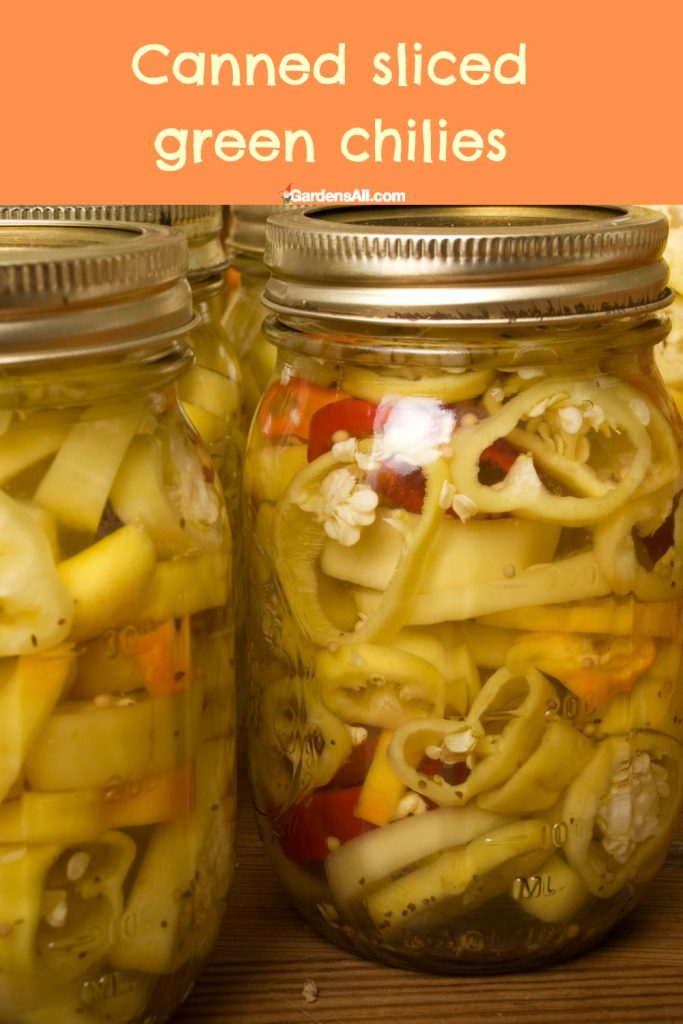
How to Can Pickled Chili Peppers
Pickled peppers may be canned in a hot water bath canner, however, due to the severe risk of botulism, it is not advisable to can peppers via water bath canning if peppers are not packed in vinegar.
Pickled peppers are generally less hot (spicy), and are safe from botulism so long as the vinegar is 5% acidity or greater.
See more about botulism prevention further below.
How Long to Cook Pickled Peppers in a Water Bath Canner
- 10 minutes for elevations under 1,000 feet.
- 15 minutes for elevations between 1,000 to 6,000 feet,
- 20 minutes for elevations 6,000 feet or higher.
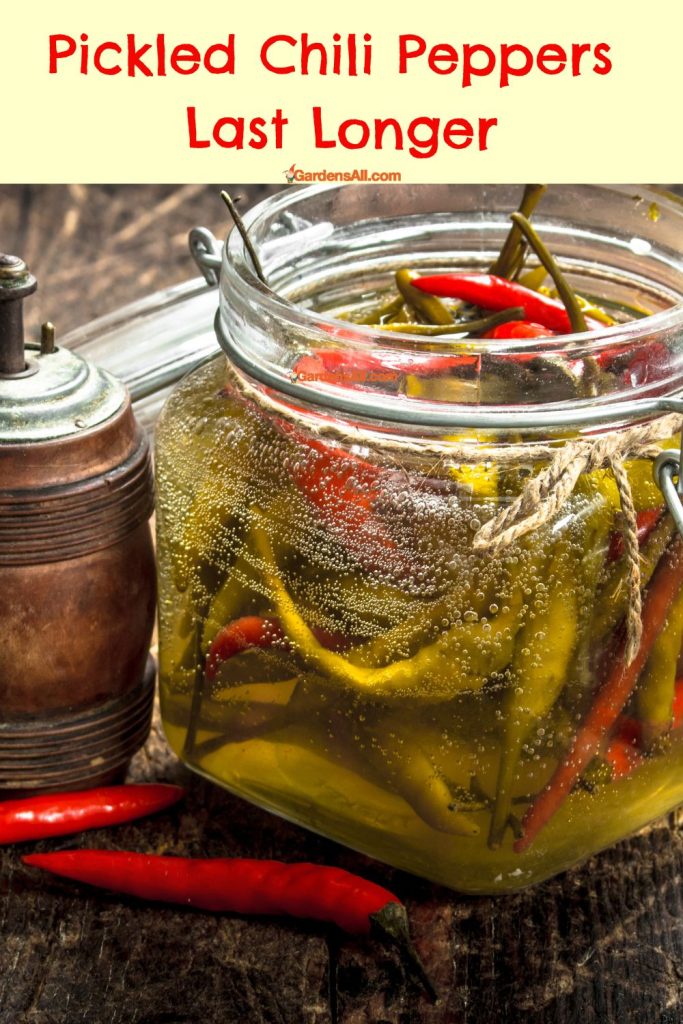
35 Minute Pressure Canning Methods With Dial Gauge Pressure Canner
- 0 – 2,000 feet elevations: use 11 pounds of canner pressure for 35 minutes
- 2,001 – 4,000 feet elevations: use 12 pounds pressure.
- 4,001 to 6,000 feet elevations: use 13 pounds. 6,001 feet and up should use 14 pounds.[1]https://nchfp.uga.edu/how/can_04/peppers.html
35 Minute Pressure Canning Methods With Weighted Gauge Pressure Canner
- 0 – 1,000 feet in elevation should use a 10 lb. weight pressure.
- 1,001 feet or higher should use the 15 lb. weight.
Do not count processing time until the canner is up to the correct pressure for your altitude.
Cool Down
Once the processing time is finished, allow the canner to depressurize and cool, at least five minutes,[2]https://fyi.extension.wisc.edu/safefood/2020/07/01/at-the-end-of-canning-why-wait-5-10-minutes/#:~:text=Wait%205%20minutes%20before%20removing,of%20Georgia%20processing%20times%2C%20however. though ten minutes is better.[3]https://pubs.nmsu.edu/_e/E308/index.html Then carefully remove the cans from the container with canner tongs.
Carefully place the cans on a