
There are so very many ways for curing garlic. From artistic to folksy, from tiny harvests to market gardeners, from homesteads to farms, there’s definitely no one way to get the job
A significant part of ensuring a healthy, flavorful batch of garlic is knowing how to correctly dry and cure it post-harvest. This article explores various methods and commonly used locations for curing garlic, towards a bountiful, long-lasting supply.
A GUIDE TO CURING GARLIC
Before we get into some of the different methods and modes for curing garlic, let’s run through a few typical questions and answers around it all.
But if you only want to know how to cure garlic and not why, how long, optimal storage, etc., you can skip on down to How to Hang Garlic to Cure.
What Does Curing Mean?
Drying and curing refer to the process of preparing the garlic for long-term storage. Drying involves reducing the initial moisture content in the garlic, while curing is the gradual process where the garlic further dries under controlled conditions.
Why Does Garlic Need to Be Cured?
The process of curing garlic, hardens the outer skins which seal in the rich, pungent flavor of the cloves inside.
Properly dried and cured garlic is more resistant to molds and pests, and the flavors become more concentrated and robust, as is typically the case with dried foods. But the main reason for curing garlic is to extend the shelf life for many more months of use.
How Long Does it Take to Cure Garlic?
Curing garlic typically takes 2-3 weeks, but that also depends on the method used.
And How Long Does Cured Garlic Typically Last?
The shelf life of properly cured garlic can vary depending on the storage conditions, healthy condition of the garlic crop and the variety of the garlic. That said, properly cured and stored garlic can last from 6-12 months.
Do You Have to Cure Garlic Before Eating?
No, it’s not necessary to cure garlic before eating it. As indicated above, the main reason behind curing garlic is to extend its shelf life. Freshly harvested garlic can be used immediately and many people enjoy the unique flavor of “green” or “wet” garlic.
So if you’re just growing a little bit of garlic, for instance, and you’re likely to use it up within a couple weeks, then curing isn’t necessary. In that case you can store it in a jar of other sealed container for up to a couple weeks or so.
Then plant more the next season! After enjoying your own fresh homegrown garlic, chances are that you’ll definitely want to grow more garlic.👩🏻🌾🧄👨🏻🌾
See also, our article on Types of Garlic to Grow.

How to Hang Garlic to Cure
We’ll cover garlic curing methods and locations next, but first, some information on ways to tie garlic for hanging to cure.
Hanging garlic to cure is a popular method due to its simplicity and effectiveness. Here are some strategies to ensure the process goes smoothly:
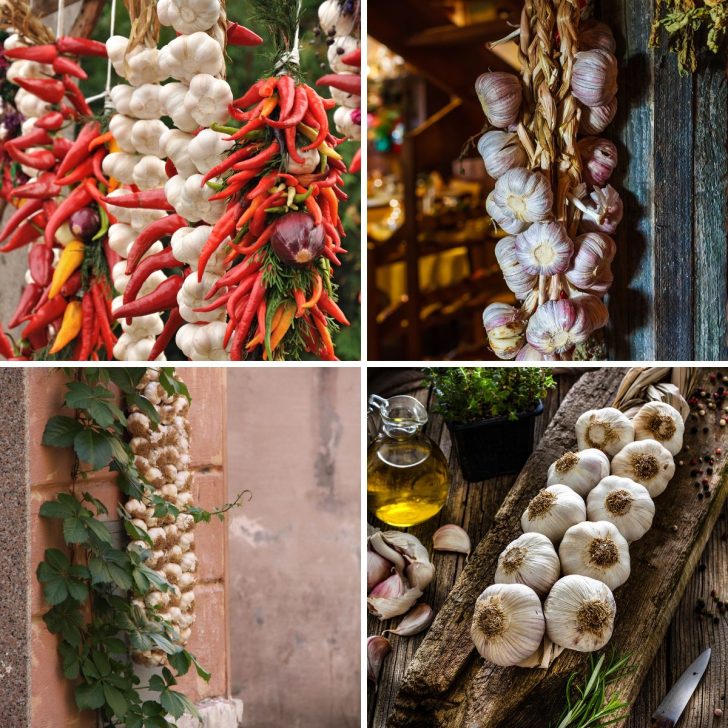
1. Braided Garlic – the Most Popular Way to Hang Garlic (for Softneck Varieties)
For softneck garlic varieties, braiding is not only an effective method for hanging and curing but also a beautiful way to store your harvest. To braid garlic, start by selecting three robust stems and begin braiding them together, adding in new stems as you go. Once you’ve included all your garlic, secure the braid with twine or a rubber band.

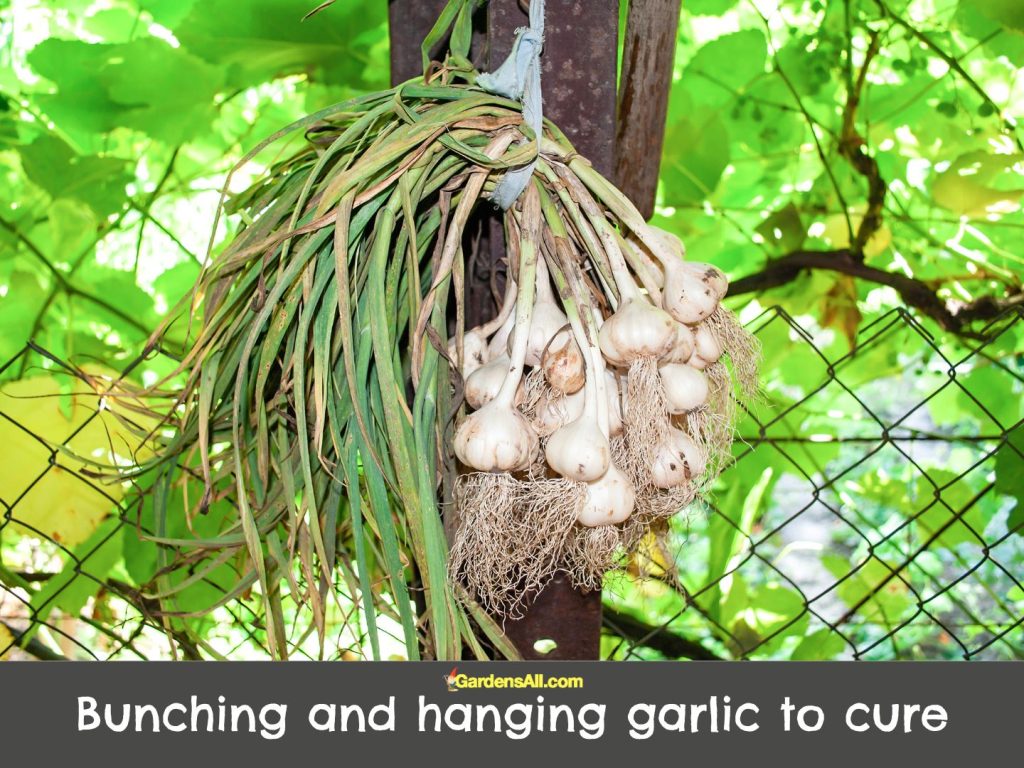
2. Bunch and Tie
The most common method is to tie the garlic stalks together. After harvesting, gently brush the dirt off the bulbs and set them aside for a few hours to allow moisture to evaporate. A soft vegetable brush works well for that.
Then, bunch together 6-10 garlic plants by their stalks and tie them securely using twine or a rubber band. Be sure not to tie too tightly as to damage the stalks or bulbs.
NOTE: Some people bunch together many more, even dozens. That can work if you’re in a dry climate or have a climate controlled room. In our humid state of North Carolina, it’s best to bunch together fewer quantities at a time.

3. Tying Garlic to Drying Rack, Line or Post, etc.
If the garlic stalks are too short or fragile to tie, a drying rack can be a useful tool. This is a little different from bunching and tying. Rather than bunching a cluster and tying it with string, you’re attaching the string or twine to the drying rack, then tying the garlic bulbs (often one at a time). This method ensures good airflow around each bulb and allows you to easily inspect and rotate your garlic.
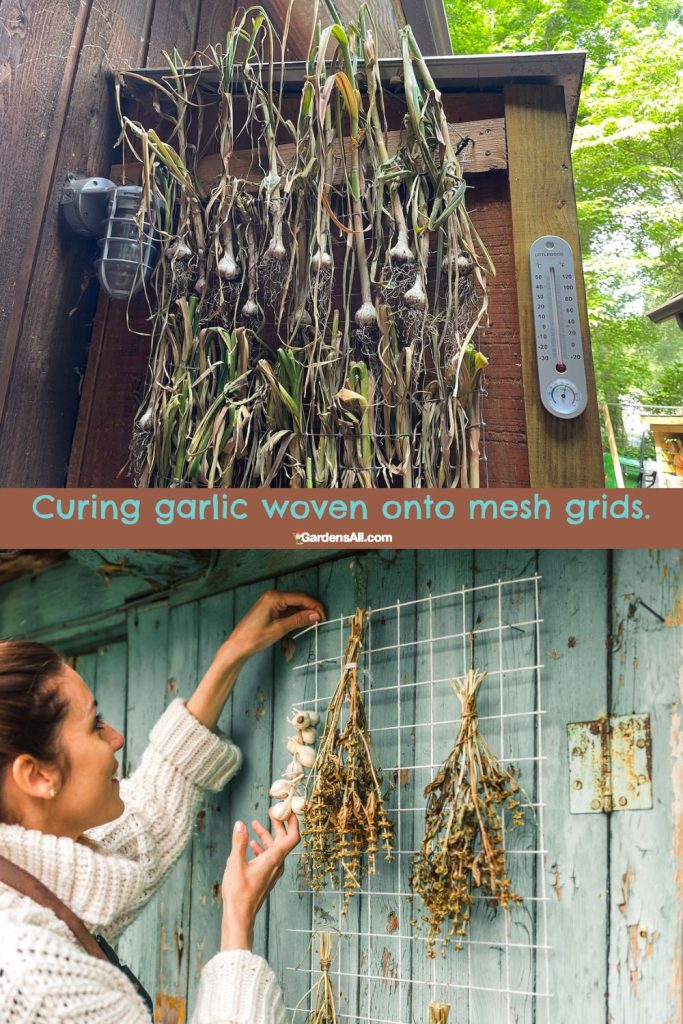
4. Weaving Garlic Stalks on a Mesh Grid (for Softneck & Hardneck Garlic)
We had some extra plastic mesh fencing on hand (pictured below) that we used for keeping the dogs away from garden beds, so this is one of the methods we use.
Weaving garlic onto a grid, using materials such as plastic mesh fencing or barrier netting, offers a space-efficient solution for curing. Simply secure the mesh horizontally between two supports, then weave the cleaned garlic stalks through the grid, allowing the bulbs to hang freely below.
This setup should be placed in a well-ventilated, dry location out of direct sunlight. It’s best to space the garlic bulbs evenly for proper airflow, regularly check for spoilage, and adjust if needed.
Here’s Coleman sharing his weaving method of hanging garlic to cure.
Methods of Drying and Curing Garlic
The duration of the curing process can vary depending on the method used, as well as other variables such as the size of the garlic bulbs, humidity levels, and ambient temperature.
The garlic stems may be cut before or after curing, but it’s best to leave them on for all hanging methods.
Below are some general guidelines for curing garlic after harvesting:
1. Air-Drying Method for Curing Garlic
The most common method for drying garlic is simple air drying or curing.
- Remove any dirt from the garlic by gently rubbing the bulbs.
- Do NOT wash them, as this can introduce unwanted moisture.
- Bundle several garlic stalks in bunches by tying or braiding them together by the stalks*
- Hang garlic bundles in a well-ventilated, warm, and dry place out of direct sunlight.
NOTE: Many people bundle as many as 6-10 plants together, and some cluster dozens together in big bunches. That works fine in dry environments, but since we live in a humid area we don’t typically bind more than 3-6 cloves together. This gives each clove more space for airflow so as to cure the garlic without getting moldy, which can happen if they’re too clustered in high humidity.
Air dried garlic is cured in approximately 3-4 weeks, depending on the climate conditions and size of the garlic.