
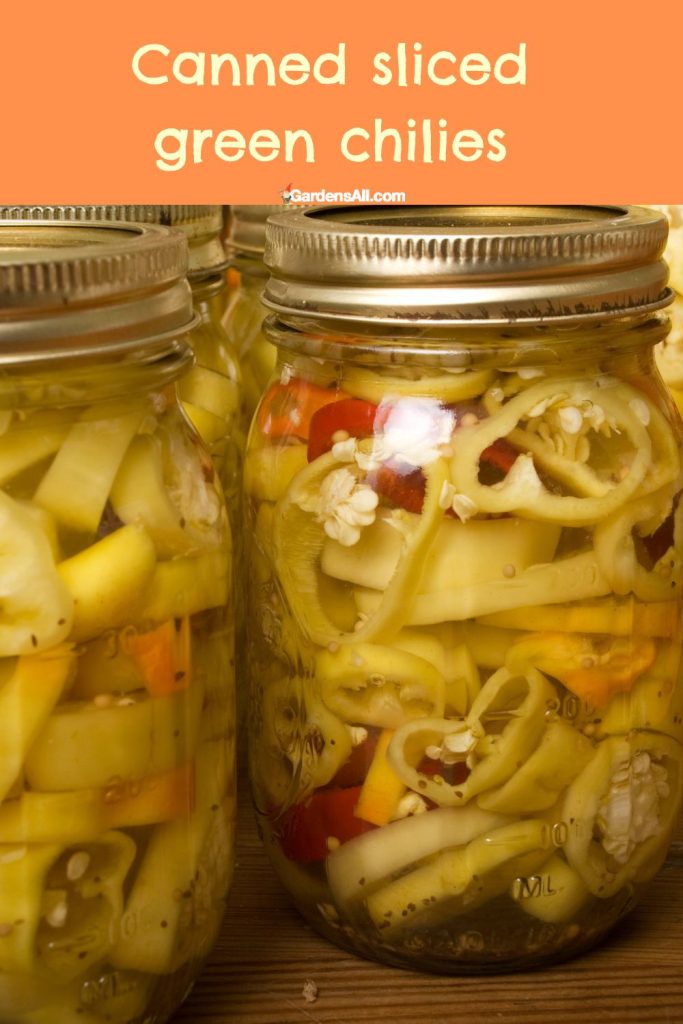
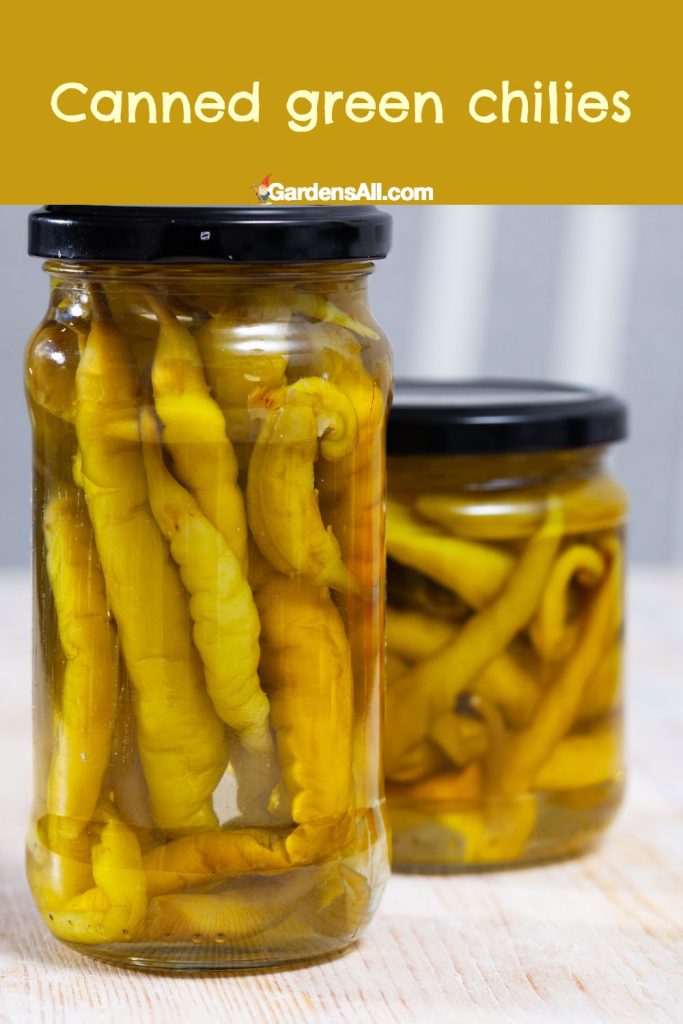
One of the most common ways to preserve chiles (and other garden veggies) is to can them. Canning green chilies will preserve your chili peppers for several years. So if you’ve got peppers coming out of your ears…it’s awesome to can and store.
Editor’s Note: Please let us know if you see any incorrect or incomplete information.
We try hard to bring you accurate and well-researched information from our experience and that of our writers and readers, as well as from scientific studies and research, plus traditional lore. If you find any mistakes to correct or content to improve upon, we’d be grateful to hear from you so that we can make it even better.
Supplies Needed for Canning Green Chili Peppers
- Rubber or plastic gloves
- Jars, with rings and lids
- Pressure cooker, pressure canner, or a water bath pot. Most come with their own necessary equipment:
- Jar lifter tongs
- Pot rack
- Canning funnel (optional but handy)
- Thick blanket, bath towel, or cooling rack
Which is Best for Canning Chiles: a Hot Water Bath or Pressure Canner?
It is strongly suggested to use a pressure canner for chillies; however, you may can chilies in a hot water bath if you add a 5% acid (like vinegar) to them, AND process the jars of chilis for an appropriate amount of time.
We cover canning process times (and weights) in more depth later in this article. Using acid to can peppers will alter the flavor, but that may be preferred by some people.
Optional Steps for Canning Chili Peppers
Whole, Sliced or Diced Chiles
You can leave your peppers whole, quartered, sliced, or diced up. Cut peppers can be packed into jars tighter (so you use fewer jars), though some people prefer whole peppers. It’s your choice!
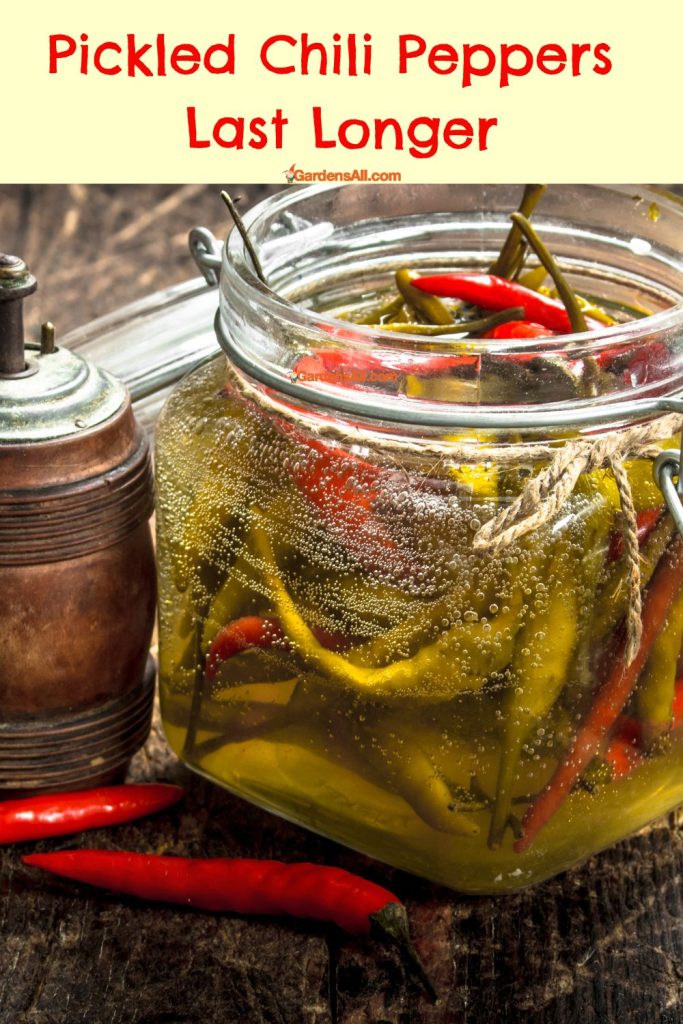
Sweeten or Pickle the Peppers
If desired, you can make a brine for pickled or sweet pickled peppers. We cover how to make pickled peppers here.
Brines are surprisingly quick and easy to make, and they should be poured over your peppers prior to sealing them in their cans. Brine is made of vinegar, which adds a strong flavor that some enjoy and others do not, but it’s helpful because vinegar is known to prolong shelf life while preventing botulism.

Should You Remove Chile Seeds Before Canning?
Remove Seeds for Seed Saving and for Milder Chiles
If you want to seed-save, now is the time to do it. Your seeds will not likely germinate after the pepper has been blanched, steamed, grilled, broiled, or canned.
Even if you sourced your chilis from the grocery store instead of the garden, they are still likely to sprout. So now is the time to collect those seeds if you’re interested in starting a chili pepper garden next season.
Leave Seeds for Hotter Chiles
Removing the seeds ensures the peppers’ heat doesn’t intensify. If you like a very hot pepper, leave the seeds in the pepper. Most people in the US remove their seeds.

Add Other Ingredients
If you want to preserve your chili peppers for a specific purpose in the kitchen, you may add a few extra ingredients to layer in flavors. Some of the most common add-ins are:
- smashed garlic cloves
- peppercorns
- celery seeds
- mustard seeds
- honey
- vinegar
- oil
How To Can Chili Peppers
- GLOVES? Many prefer to use gloves for protection to prevent irritation or burning, especially with hot peppers. However, even with gloves, you can inadvertently rub your eyes or face, or inhale the fumes, so try to avoid touching your eyes and face, and wash your hands frequently, with or without gloves.
- WASH the chili peppers. No matter if they’re garden fresh or freshly home from the store, all peppers should at least be rinsed off to prevent possible spoilage due to foreign matter.
- PRECOOK the peppers. Chili peppers contain a lot of hidden air in the tissues, so precooking them removes this air to softening packing into the jars while retaining shape.
Cooking Options Include:- Steam
- Blanch in boiling water
- Blister the skin by your choice of:
- grilling
- broiling – to broil, place in a 400° F oven or broiler for six to eight minutes until the skins begin to blister black.
- burning the skins over an open flame
- roasting – enhances the flavor the most; same for all roasted vegetables
- COOL the peppers down, then remove the skins. For crisper skins, plunge them into ice water for a minute, then drain. Not all of the blistered black parts will come off; it’s perfectly acceptable to leave them on the pepper when canning.
- ADD a half teaspoon of salt per pint, or a quarter teaspoon of salt per half-pint, if desired.
- FILL the jars with peppers, then top them with freshly boiled water or brine. Leave a one-inch headspace.
- CAP with lids and rings. You can reuse lids, but you run a greater chance of failure to seal, so reusing lids for vacuum sealed canning is not advised but may be done. Rings should be fingertip tight, and not overtightened. Too-tight lids will not let the air escape, meaning the jars won’t seal.
How to Can Pickled Chili Peppers
Pickled peppers may be canned in a hot water bath canner, however, due to the severe risk of botulism, it is not advisable to can peppers via water bath canning if peppers are not packed in vinegar.
Pickled peppers are generally less hot (spicy), and are safe from botulism so long as the vinegar is 5% acidity or greater.
See more about botulism prevention further below.
How Long to Cook Pickled Peppers in a Water Bath Canner
- 10 minutes for elevations under 1,000 feet.
- 15 minutes for elevations between 1,000 to 6,000 feet,
- 20 minutes for elevations 6,000 feet or higher.
35 Minute Pressure Canning Methods With Dial Gauge Pressure Canner
- 0 – 2,000 feet elevations: use 11 pounds of canner pressure for 35 minutes
- 2,001 – 4,000 feet elevations: use 12 pounds pressure.
- 4,001 to 6,000 feet elevations: use 13 pounds. 6,001 feet and up should use 14 pounds.[1]https://nchfp.uga.edu/how/can_04/peppers.html
35 Minute Pressure Canning Methods With Weighted Gauge Pressure Canner
- 0 – 1,000 feet in elevation should use a 10 lb. weight pressure.
- 1,001 feet or higher should use the 15 lb. weight.
Do not count processing time until the canner is up to the correct pressure for your altitude.
Cool Down
Once the processing time is finished, allow the canner to depressurize and cool, at least five minutes,[2]https://fyi.extension.wisc.edu/safefood/2020/07/01/at-the-end-of-canning-why-wait-5-10-minutes/#:~:text=Wait%205%20minutes%20before%20removing,of%20Georgia%20processing%20times%2C%20however. though ten minutes is better.[3]https://pubs.nmsu.edu/_e/E308/index.html Then carefully remove the cans from the container with canner tongs.
Carefully place the cans on a cooling rack, a folded-up towel, or a thick blanket, at least one inch apart from each other for proper air flow. Let sit in place for 12-24 hours before moving.
Check the lid seal after 24 hours. The button should not move or ‘pop’ if properly sealed.
If a canning jar or two did not seal, all’s not lost. You can repeat the canning process with a new lid.
Canned Jar Storage
After a day or two, remove the ring bands from the jars, leaving behind the flat lid intact. This will prevent the ring from rusting to the lid and causing corrosion, plus it will be easier to spot a broken seal.
Lids may also unseal and then reseal if the ring is left on, causing the food to sneakily mold, rot, or decompose with a “sealed” lid. Yikes![4]https://nchfp.uga.edu/how/store/store_home_canned.html#:~:text=It%20is%20recommended%20that%20jars,clean%20and%20thoroughly%20dry%20first.
Store canned jars without the lid rim rings, out of direct sunlight in temps at 50-70°F / 10-21.11°C

How Long to Can Chiles in the Canner
If you are using a pressure canner, you will process the green chilies for 35 minutes with different weights according to your altitude.
If you are pickling your chilis and then water bath canning them, you will process them for 10-20 minutes, depending on your altitude. People at 1,000 feet or less go for 10 minutes. Those at 1,001 to 6,000 feet process for 15 minutes. Those at 6,001 feet or higher will process for 20 minutes.
Canning at All Altitudes
We covered the time and weights related to canning at high elevations, but we did not talk about temperature. If you pressure canned, you will not need to worry about temperature, that is already ideal and safe. Water bath canners should use more caution.
At sea level (zero feet in elevation), water will boil at 212° F. As elevation increases by five hundred feet, the boiling point lowers by a single degree in Fahrenheit. So a house at 8,000 feet will have a pot of water boil at 197° F.
Canning is not just about sealing jars though; canning green chili peppers is also about eliminating the chance for botulism.
The water boiling point lowers by 1°F per every additional 500 feet.
How to Prevent Botulism When Canning Green Chili Peppers
Botulism, an invisible toxic poison that you can’t see, smell, or taste, which is why it poses such a risk. It’s best to use vinegar for water bath canning, or else pressure canners in order to seal thoroughly at a high enough heat to kill any such bacteria.
Pressure canning at a temperature of 240°F / 115.6°C is the only safe way to can chiles without adding acid. To prevent botulism, the internal temperature of canned chiles and other non-acid foods must reach 240°F. [5]https://pubs.nmsu.edu/_e/E308/index.html
You can use a food thermometer to keep track of your canning temps.
“Because they are low-acid vegetables, peppers must always be canned in a pressure canner if they are not pickled.”
REFERENCE: PDF by the U. of Southern Division of Agriculture
Water Bath Boiling Times by Elevation
- Under 1,000 feet, boil for 10 minutes
- 2,000 to 2,999 feet, boil for 12 minutes
- 3,000 to 3,999 feet, boil for 13 minutes
- 4,000 to 4,999 feet, boil for 14 minutes
- 5,000 to 5,999 feet, boil for 15 minutes
- 6,000 to 6,999 feet, boil for 16 minutes
- 7,000 to 7,999 feet, boil for 17 minutes
- 8,000 to 8,999 feet, boil for 18 minutes
- 9,000 to 9,999 feet, boil for 19 minutes
Using a pressure canner will prevent botulism. Water bath canning requires you to use a 5% acid (usually vinegar) plus careful processing.
How Long Do Chili Peppers Last When Canned?
Believe it or not, the USDA says most canned goods are safe to consume indefinitely. These foods may develop an unsightly appearance or off-flavor, but they are safe to eat so long as the seal is not broken and the jar is not cracked.
We haven’t yet found research on the nutrient content of three year old canned goods. It’s bound to be less vital but at least the contents haven’t been found to be toxic.
Still, best practices include rotating canned goods regularly so they are used promptly for the best taste, texture and nutrients. Most people agree that three years is the outside maximum and one year or less is even better.
Looking for other pepper preservation ideas?
- How to Make Refrigerator Pickled Chili Peppers
- How to Dry Chili Peppers
- How to Freeze Chili Peppers
- How to Make Fire Cider from Chili Peppers
- How to Dehydrate Chili Peppers (And Other Garden Produce)
- Chili Pepper Art
A Note From Our Editor
Please let us know if you see any incorrect or incomplete information.
We try hard to bring you accurate and well-researched information from our experience and that of our writers and readers, as well as from scientific studies and research, plus traditional lore. If you find any mistakes to correct or content to improve upon, we’d be grateful to hear from you so that we can make it even better.
I’m LeAura Alderson, a garden, herb and plant enthusiast with a passion for discovering the many edible and medicinal benefits of the plants all around us, including the weeds, while transforming the land through regenerative permaculture practice. I am also a writer, editor and media publisher (now mostly retired due to replacement by AI), but which now allows more time to build our regenerative permaculture homestead farm.
References