
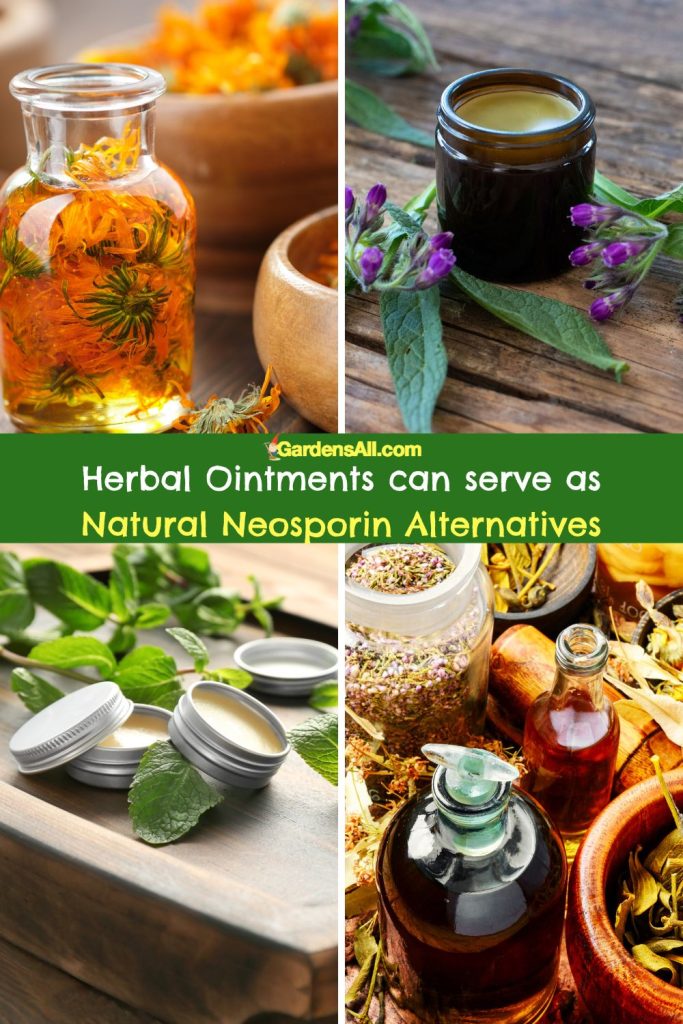
In a world where natural, organic products are increasingly favored (but still more expensive), creating homemade antibiotic ointments as natural Neosporin alternatives is a practical and satisfying endeavor.
Not only is it an effective alternative to the bestselling antibiotic ointments, but it also allows you to harness the healing properties of a variety of herbs and oils.
Natural Neosporin Alternatives – Homemade Herbal Antibiotic Ointments
5 Herb Antibiotic Ointment Recipe
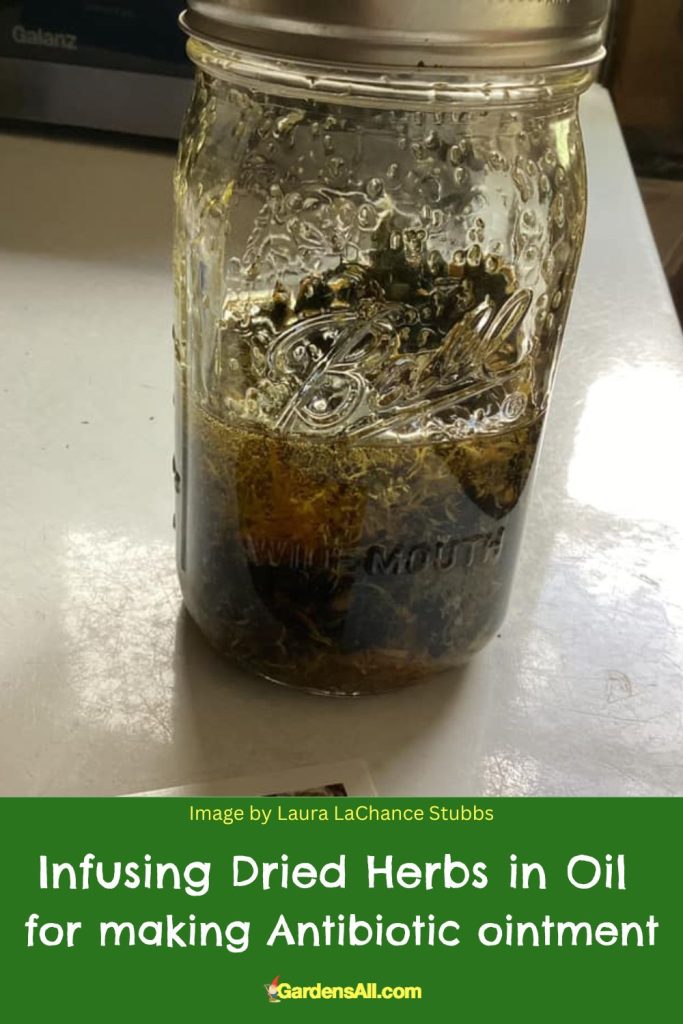
Recipe contributed by Laura LaChance Stubbs
This DIY antibiotic ointment features yarrow, comfrey, bee balm leaves, chamomile, and calendula, each offering unique healing properties.
INGREDIENTS
NOTE: Quantities are approximate. For the 5 dried herbs Laura used about one handful each, and while she used some leaves and some flowers, you can use one or the other or both for each of these herbs. The other two herbs (tea tree and lavender) are in essential oil form.
If you have fresh herbs, you can dehydrate them first, which usually takes less 4-24 hours depending on the density of the parts of the herbs used. See best food dehydrators.
Dried Herbs for Infusion – this will steep for 5 weeks:
- Yarrow leaves (see yarrow benefits)
- Comfrey leaves (see comfrey uses and benefits)
- Bee balm leaves (see bee balm uses)
- Chamomile flowers
- Calendula flowers (see Growing Calendula Flowers)
- ~ 1.5 – 2 cups of Olive oil – enough to cover dried herbs
Oils & Beeswax – (after 5 weeks):
- 1 cup herb-infused oil (after infusing)
- 5 oz Beeswax pellets (we prefer these as they break down more quickly than the bars)
- 1/2 tsp. Tea tree oil
- 1/2 tsp. Lavender essential oil (see how to make lavender oil)
- 1/2 tsp. Vitamin E (or 1-2 capsules opened and drained into the liquid mix)
Most infusions recommend 4-6 weeks, so we’re just calling it “5 weeks”. Some will even say 2-4 weeks, so there’s no ONE right way. If you need it sooner, it’s probably fine to steep for less then 5 weeks.
- Crush the dried leaves and flowers into smaller pieces (you can do this by crushing in your hands or with a large wooden spoon pressing to crush them in the jar).
- Place crushed herbs into a quart jar.*
- Pour enough olive oil into the jar to just cover the leaves and flowers.
- Let this mixture sit for about 5 weeks to allow the healing properties of the herbs to infuse into the olive oil. Shake gently every day or so to allow maximum distribution of oils.
*I like to use these flexible plastic cutting “boards” as they can fold nicely into a “taco shape” for easy funnelling into a jar.
Making the Concoction
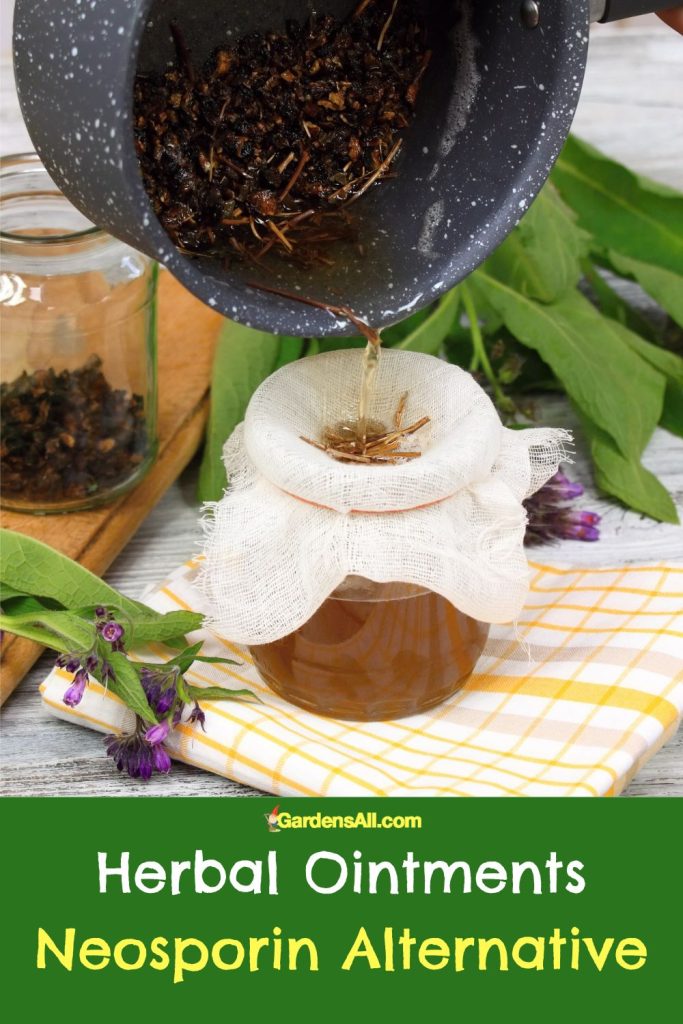
- After 5 weeks (or so), strain the oil to remove the herbs, making sure to extract as much oil as possible:
- If using a mesh strainer, press the herbs against the mesh with a large spoon until most of the dripping stops.
- If using cheese cloth, squeeze with your hands until mostly drip free.
- The spent herbs can be tossed into your organic compost bin.
- Take 1 cup of the strained, herb-infused oil and put it into a small pot.
- Add the 5 ounces of beeswax to the pot.
- Melt the beeswax in the pot over the lowest heat and stir until it’s melted.
- Once the beeswax has completely melted, remove the pot from the heat.
- Let the mixture cool for a moment, then add 1/2 teaspoon of each of the 3 essential oils (EO), (or the contents of a vitamin E capsule if that’s not in EO form)
- Stir everything together to ensure the oils are thoroughly mixed with the beeswax.
- While the mixture is still liquid, pour it into 4 to 8 ounce heat proof jars.
- Allow the ointment to cool and solidify before putting the lids on the jars.
- Label and store in a cool, dry place.
The homemade antibiotic ointment is now ready to use for minor scrapes, cuts, and wounds. It provides a natural Neosporin alternative, with the added benefit of the peace of mind that comes from knowing exactly what’s in your first aid supplies. If it’s organically homegrown, even better!
Next, we have two additional recipes for homemade antibiotic ointments using different ingredients.
Plantain Calendula Healing Salve With Coconut Oil
Ingredients:
- 1/2 cup coconut oil
- 1/3 cup olive oil
- 2 tablespoons beeswax pellets
- 1/4 cup dried calendula flowers (see which are the best medicinal calendula plants)
- 1/4 cup dried plantain leaves
- 10 drops lavender essential oil (see is lavender a perennial)
- 10 drops tea tree essential oil
Instructions:
- Combine coconut oil, olive oil, dried calendula flowers, and dried plantain leaves in a double boiler.
- Heat gently over low heat (under 140°F (60°C ) for at least an hour, stirring occasionally. You are warming to infuse, NOT boiling or even simmering, as that will diminish some of the healing properties.
- Strain the oil mixture through a fine-mesh sieve or cheesecloth, discarding the herbs.
- Return the oil to the double boiler and add beeswax.
- Stir until the beeswax has completely melted, then remove from heat.
- Allow to cool slightly, then add lavender and tea tree essential oils, stirring well.
- Pour the mixture into small glass jars before it begins to harden.
- Cool ointment completely.
- Seal, label and date the jars.
Use this balm for soothing and healing minor wounds and burns.
Rosemary and Honey Healing Balm Ingredients
This balm is also good for soothing and healing minor wounds and burns. See also, healthy benefits of rosemary.
Ingredients:
- 1/2 cup sweet almond oil
- 2 tablespoons dried rosemary leaves (or for fresh rosemary, see making rosemary oil).
- 1 tablespoon local, raw honey
- 1/4 cup beeswax pellets
- 10 drops tea tree essential oil
- 10 drops lavender essential oil
Instructions:
- In a double boiler or herbal infuser, combine the sweet almond oil and dried rosemary leaves.
- Simmer over the lowest heat for an hour or so, (or turn on the herbal infuser to the appropriate setting).
- Strain the oil through a fine-mesh sieve or cheesecloth, discarding the rosemary leaves in your compost.
- Return the oil to the herbal infuser or double boiler on the lowest heat.
- Add the honey and beeswax.
- Stir until the beeswax has completely melted, then remove from heat.
- Add honey, mixing well.
- Allow the mixture to cool slightly, then add tea tree and lavender essential oils, stirring well.
- Pour the mixture into small glass jars before it begins to harden.
- Let it cool completely before sealing the jars.
Remember to store these homemade ointments in a cool, dry place and always clean the area before applying any ointment. If symptoms persist or worsen, seek medical advice.
Before we go let’s cover the longevity of this natural Neosporin alternative.
How Long Do Homemade Antibiotic Ointments Last?
Homemade herbal ointments typically last for about one to two years, depending on the freshness of the ingredients used and how the ointment is stored. Here are a few tips to ensure the longest possible shelf life for your homemade ointments:
- Use Fresh Ingredients: The freshness of your ingredients can affect the overall shelf life of your ointment. For instance, fresh, high-quality carrier oils can extend the shelf life.
- Proper Storage: Store your ointments in a cool, dark place to extend their shelf life. Heat and light can degrade the ointment and shorten its effectiveness.
- Clean Containers: Always use sterilized containers for storing your ointment. Bacteria or other contaminants can spoil your ointment.
- Use Clean Hands or Utensils: Whenever you’re using your ointment, make sure your hands or any utensils you’re using are clean. This can help prevent the introduction of bacteria.
Remember, these are natural products without preservatives, so they may not last as long as commercially prepared items. Always check the smell and consistency of the ointment before using. If it smells rancid or the texture has significantly changed, it’s best to dispose of it and make a new batch.
More Contributions From the Community
Honey!
“For now I just use honey. Years ago I had a nasty dog bite. I needed stitches and a drain. The Dr. gave me a rx for antibiotic cream. By the 3rd day my hand was angry and throbbing. I switched to honey and it cleared up that day. So that’s been all I use now, but I’ll try to make some of these.”
~Shannon Schofield, gardener, beekeeper, writer, (see Shannon’s articles here on lessons from the garden, and on pollinator flowers).
You may also enjoy our article on the benefits of honey.
I’m LeAura Alderson, a garden, herb and plant enthusiast with a passion for discovering the many edible and medicinal benefits of the plants all around us, including the weeds, while transforming the land through regenerative permaculture practice. I am also a writer, editor and media publisher (now mostly retired due to replacement by AI), but which now allows more time to build our regenerative permaculture homestead farm.