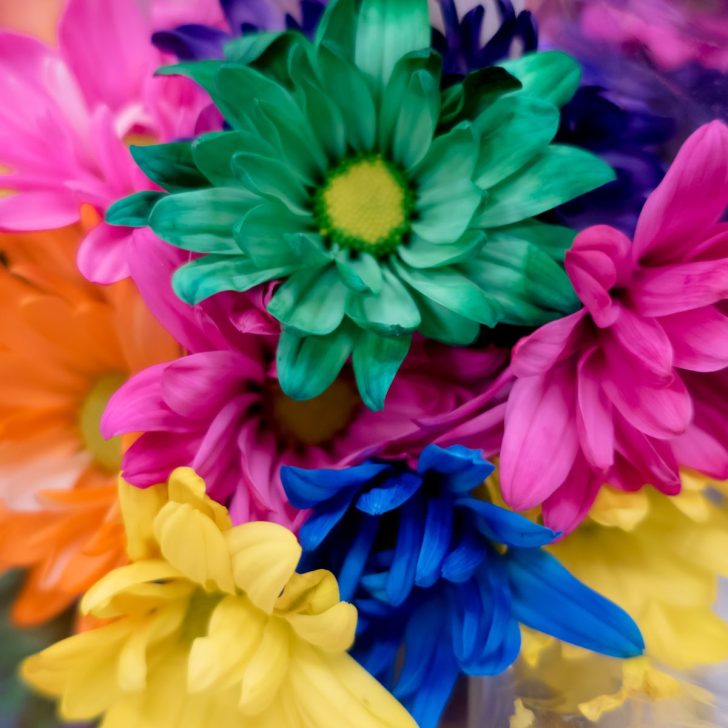
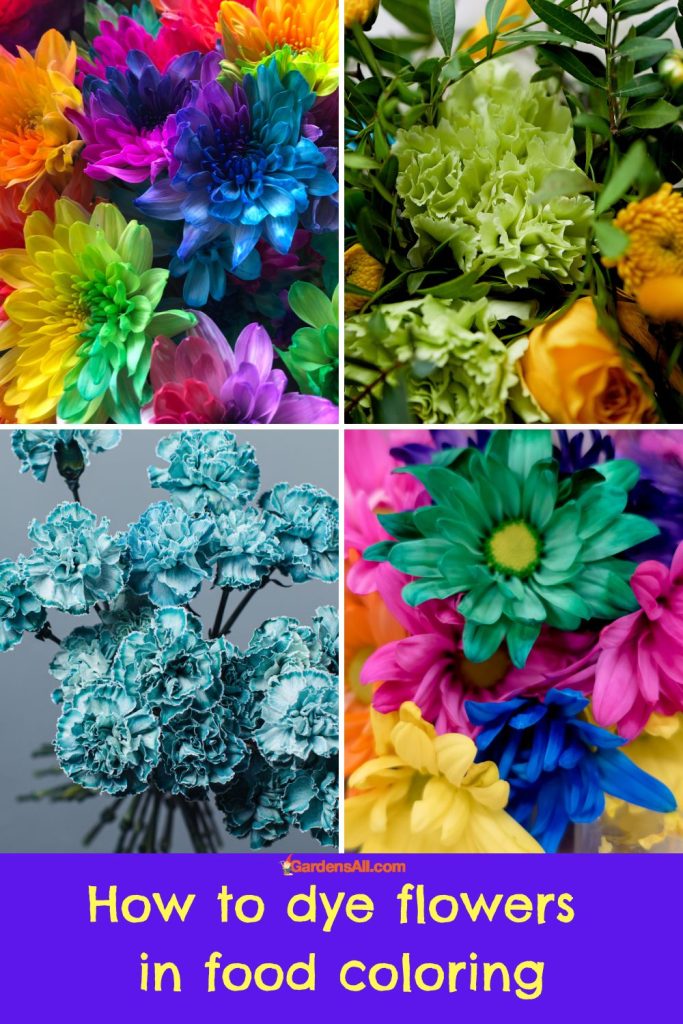
Coloring flowers is a simple and fun project, delightful to kids and adults alike. Here’s how to dye flowers with food coloring.
As a child of around 5 years old, my husband, Coleman has fond memories of his grandmother taking him out to collect Queen Anne’s Lace flowers.
They would then bring them inside where she would place the stalks in vases or jars of water to which she added food coloring. Each flower would begin drinking up the colored liquid and change colors accordingly, resulting in a beautiful array of multicolored floral clusters within hours or overnight.
To this day, 65 years or so later, he still remember how magical it was, so this could be a memorable and simple experience to share with the little ones in your life!

Dying Flowers With Food Coloring
Materials for Dying Flowers
- White or light-colored flowers (like white roses, carnations, daisies, daisy fleabane and Queen Anne’s Lace).
- Food coloring (choose your desired colors)
- Clear glass vases or containers
- Water
- A knife or scissors
Steps for How to Dye Flowers With Food Coloring:
- Prepare the Flowers: Start by trimming the stems of your flowers. Cut them at an angle under running water. This will help the flowers absorb water more efficiently.
- Prepare the Dye: Fill each vase with water. The amount of water needed depends on the size of the vase, but it should be enough to submerge the majority of the stem. Add about 20-30 drops of food coloring into the water. You can adjust the amount of dye to achieve the desired color intensity. If you want different colors for your flowers, use different vases for each color.
- Soak the Flowers: Place each flower into a vase. Make sure the stem is well submerged in the colored water. The flowers will gradually absorb the colored water through their stems and distribute it to the petals.
- Wait: The flowers need time to absorb the color, so this isn’t an instant process. You’ll start to see a change in color within a few hours, but for a more vivid color, you may need to wait up to 24 hours or longer.
- Observe the Change: Check the flowers periodically to see how the color is changing. Once the flowers have reached the desired color, remove them from the colored water.
- Final Touch: Trim the stem again to remove the colored section (at an inch or two), to allow the new stem to help keep your cut flowers fresh for longer. Place your flowers in a vase with clear water.
See also, Queen Anne’s Lace uses and benefits.
Remember, flowers are delicate. Over-handling or leaving them in the dye for too long can shorten their lifespan. It’s best to start with a shorter time and check the color often, adding more time (and/or color) if necessary. Enjoy your colored flowers!
I’m LeAura Alderson, a garden, herb and plant enthusiast with a passion for discovering the many edible and medicinal benefits of the plants all around us, including the weeds, while transforming the land through regenerative permaculture practice. I am also a writer, editor and media publisher (now mostly retired due to replacement by AI), but which now allows more time to build our regenerative permaculture homestead farm.