Popeye Should’ve Eaten Kale!
If you aren’t already growing kale, try it! Not only is kale beautiful, delicious and nutritious, it can also be decorative. Ornamental kale is a beautiful addition to HOA restricted edible landscapes as well.
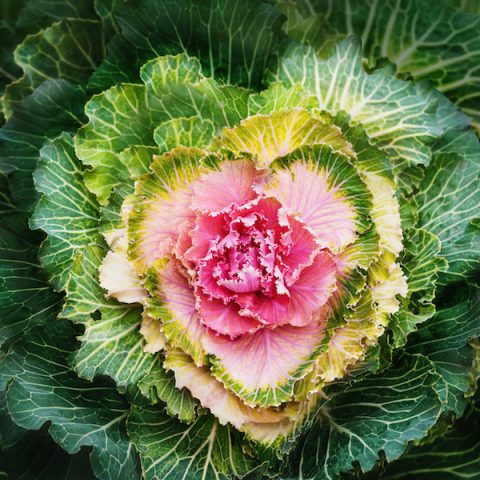
There are many different types of kale and its close cousin, the cabbage. Ornamental kale and ornamental cabbage make great edible landscape plants, retaining their showy beauty during much of the growing season.
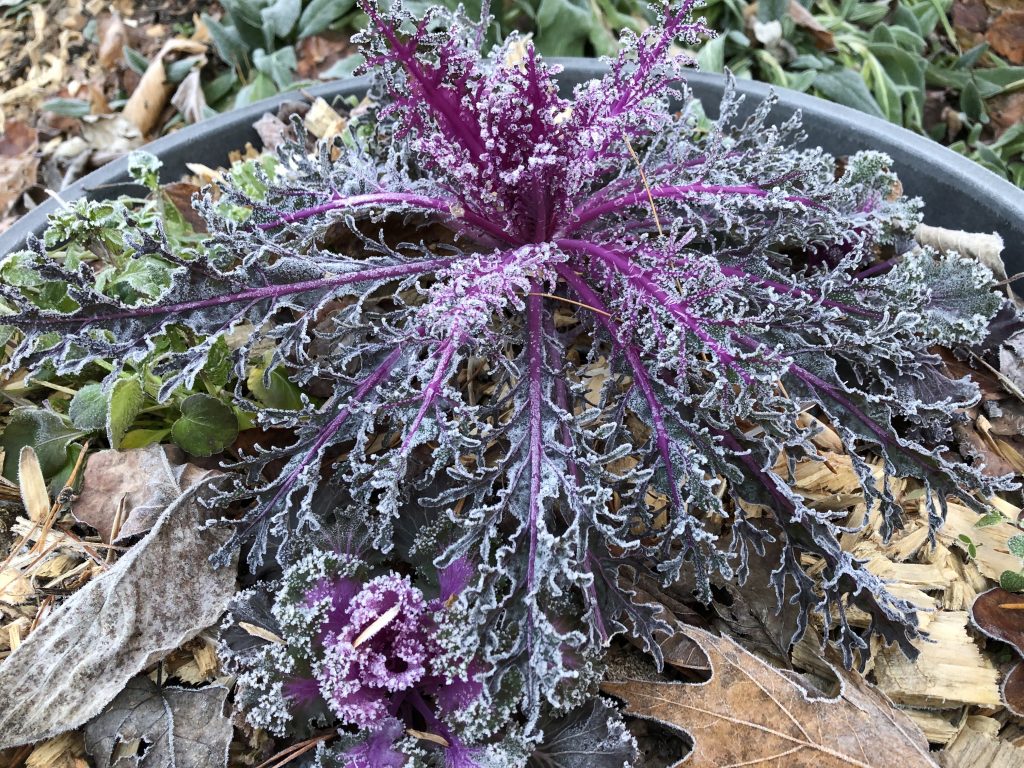
All ornamental cabbage is actually kale, so if you were wondering about the cover photo, then yes it is kale and not cabbage.
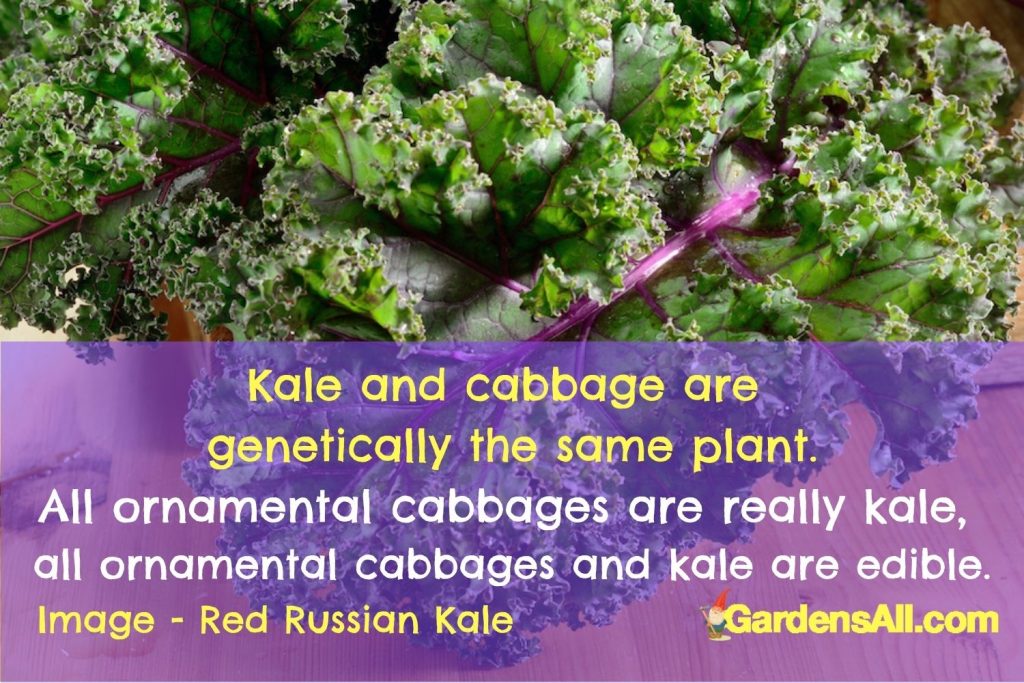
Kale and cabbage (whether ornamental or not) are genetically the same plant. The only difference is cabbages make heads, and kales do not. All “ornamental” cabbages and kales are really kale, since they do not form heads.[1]https://www.walterreeves.com/landscaping/ornamental-kaleornamental-cabbage/
Kale and cabbage are genetically the same plant.
All ornamental cabbages are really kale, and all ornamental cabbages and kale are edible.
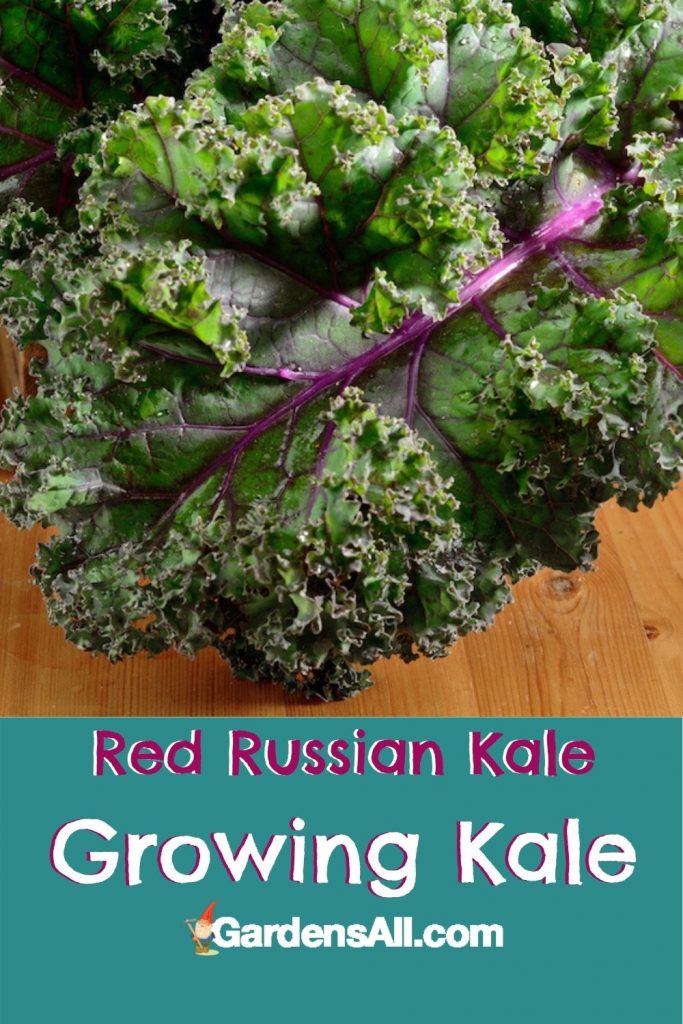
GROWING KALE
Quick Tips for Growing Kale
- Kale can grow during any season in most climates.
- Flavor changes depending on weather, soil and kale variety.
- Tolerates temps from 20-80°F, but can become bitter at higher temps.
- Grow in partial shade in higher temp locations for best results.
- When growing from seed allow six weeks from seed to seedling relocation.
SOURCE: GentleWorld.org[2]https://gentleworld.org/author/meadow/
Kale is a hardy crop but prefers temps above 20°F and below 80°F.

To Grow Kale in the Garden
Sow seeds directly in the garden starting 2 to 4 weeks before the last frost date or as soon as the ground can be worked in the springtime.
- Before planting, distribute a generous amount of seasoned organic fertilizer and work it into the soil.
OR, - If using mulch to fertilize, simply place it around the plants after they are in the ground.
Kale is usually grown as an annual, however it’s actually a hardy biennial in the right climate, that takes two years to complete its cycle.
- Plant in partial shade in warmer months
- Grow kale in full sun during colder months
- Keep kale well watered and soil moist
- Fortify kale with organic compost, plant food, fertilizer or compost tea
Growing Kale from Seed
Planting Kale Seeds
- Start seeds indoors 6 weeks before time to plant in the garden ~4 weeks before the last frost
- Plant kale seeds ½” deep and approximately 3 inches apart
- Thin plants to 8-12 inches apart when at 4 to 5 inches tall.)
- Use grow lights if no available sunny window
Growing Kale in Pots
- Sow seeds ½” deep in middle of medium pot, allowing a minimum of 6 sq. in.
- Plant in a mix of soil and organic fertilizers or compost
- Keep the soil around the seedling evenly moist but not soaked.
- Place in partial shade during higher temperatures and full sun in cooler temps

Companion Plants for Kale
Plant Kale With These Plants:
- Beets
- Celery
- Herbs
- Onions
- Potatoes
Do NOT Plant Kale Near These Plants:
- Beans
- Strawberries
- Tomatoes
Planting Kale Starts
If you’re planting from starts (that you started 4-6 weeks ago (or purchased), put them in the ground 1-2 weeks before the last expected frost date if they’re big enough to survive the weather.
Kale Start Size
- WHEN: Plant when kale starts have at least four true leaves and the next two leaves are beginning to form
- HEIGHT: The plant is approximately 3-4 inches tall
- DISTANCE: Plant seedlings 8-12″ apart in rows 18 inches to 24 inches apart.
Best Soil for Kale
- Kale likes loamy, well-drained, moist (but not soggy) soil of average fertility
- Best soil pH between 5.5 – 6.8.
- Add wood ash to acidic soil to sweeten it
- Light sandy soils and very heavy clay soils can “negatively” affect the flavor of kale
Best Soil Temps for Kale
- Seeds will germinate in cool soil at least 40℉
- best sprouting temp is around 70 degrees.
- Sow seeds inside 5-7 weeks before last expected frost.
- Direct sow seeds outside:
- 2-4 weeks before last frost
- at least 10 weeks before the first frost of the next season
GROWING KALE:
Hotter weather makes kale more bitter and tough, though it’s still edible and nutritious. A shade cloth covering or planting where partial shade naturally occurs can moderate heat effects.
How Much Kale to Plant
For regular kale consumption, you’ll need 3-4 plants per household member. It is also always a good idea to plant more seeds or buy more starts than you think you’ll need in case some of them don’t make it.
Fertilizer for Kale
Follow the directions for whatever fertilizer you’re using. With compost and mulches, you’ll want to go a couple inches deep, while other amendments like seaweed powder or rock dust only require a good sprinkle.
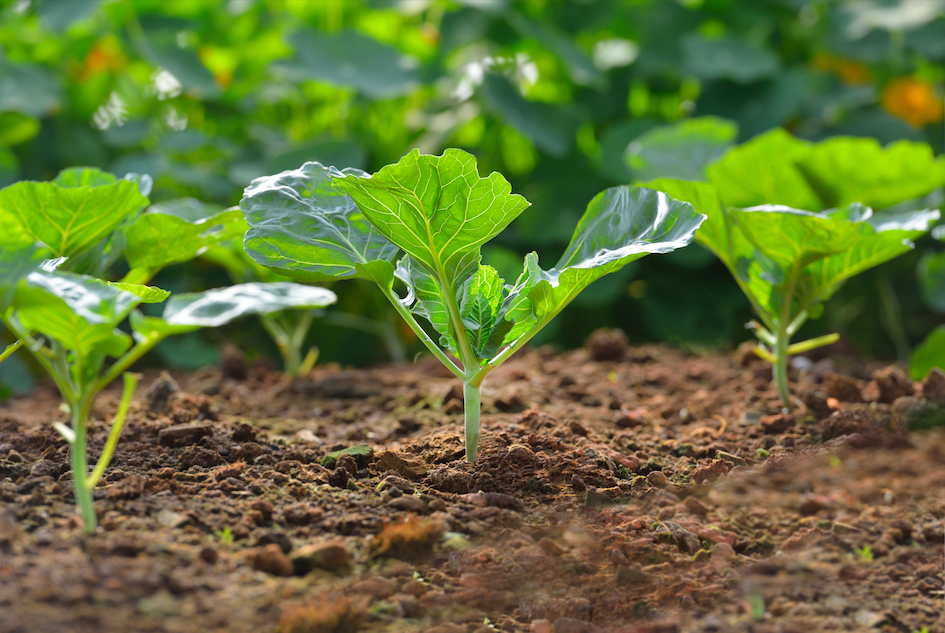
First Leaves – Cotyledons
When a seed first emerges from the soil it has a set of two leaves called cotyledons.[3]https://groweat.blogspot.com/2010/05/cotyledons-and-cattle-panels.html These are actually the outer husk of the seed and do not conduct photosynthesis, and instead, become the seed’s first food source.
As the seedling grows, becoming stronger and healthier, it forms two more leaves which look very different from the cotyledons. These are the first “true leaves” which look more like the plant’s adult leaves, but obviously smaller. Once the true leaves emerge, the plant is able to use them to photosynthesize and the cotyledons become unnecessary and eventually wither and fall off.

Kale Care
Water
Keep your plants well watered. Along with cool temperatures, keeping the soil most will help keep the leaves sweet and crisp.
Fertilizer, Compost and Mulch
Fertilizing along the rows—called side dressing—every 6-8 weeks with compost throughout the growing season will help keep your kale producing.
We use Milorganite fertilizer, organic compost and also compost tea.
Mulch
If you’re having issues with dirt sticking to and rotting your kale leaves, you can put mulch (such as straw, grass or wood chips) around the kale once it is at least six inches high. We use wood chips from our ready free supply.

Kale Care Checklist
- Keep watered and moist
- Fertilize along the rows with compost every 7 weeks
- Mulch around base with straw, wood chips or grass trimmings
Kale Harvest Checklist
- Ready for harvest in 70-95 days from seed and 55-75 days from transplanting
- Cut individual outer leaves when plant is approximately 8-10″ high
- OR, to harvest plant, cut stalk at 2″; plant will sprout new leaves in 1 to 2 weeks
- Harvest kale leaves before they become too old and tough
- Store it in the fridge for up to a week, moist but unsealed in crisper bin
If you can’t eat the kale leaves fast enough and they begin to turn brown, pull the old leaves off, and compost them, to free the plants of insect attractants and unnecessary energy drains. But there are so many ways to use kale that you shouldn’t have trouble using it up.
REFERENCE: GentleWorld.org[4]https://gentleworld.org/kale-an-easy-beginners-guide-to-growing/
How to Eat Kale
Our favorite ways to use up extra kale include:
- Juiced in green juice
- Steamed then tossed with olive oil, salt & pepper
- Chopped and baked into egg bake
- Chopped and added to any soup for extra nutrients, like this kale and white bean soup
- Sautéed in garlic butter
- Tossed in olive oil, salt & pepper (or favorite seasonings) and roasted into a crispy side dish or made into “kale chips“.
Daily Dose of Green Garden Goodness
We recommend juicing the kale for awesomely refreshing and nutrition packed green juice. If that sounds good to you, next is our go-to-green juice recipe.

Kale Green Juice Recipe
Use organic veggies, scrubbed, not peeled. Any of these ingredients are optional and can be omitted or substituted for whatever you have on hand. This is just our ole standby recipe, and we rotate the greens with whatever we have most of on hand, between kale, spinach, chard, beet green, lettuce, etc.
The stronger the green, the stronger the drink, so adjust to suit your pallet.
Ingredients:
These are all approximate measurements, as we typically just toss it on into the Vitamix in this order. Once it’s blended, you can always add more of any ingredients as needed, to adjust it to your taste.
We always try to use organic vegetables with the skin intact for added nutrients.
- 1/2 – 1″ Ginger root
- 1 heaping handful of kale (broken up enough to crunch down)
- 1 Cucumber
- 1 Tbsp. Flax Seeds (ground or whole)
- 1 Tbsp. Chia Seeds
- 1 Tbsp. Whey Powder
- 6 Stalks Celery, (organic, scrubbed)
- 1 Bell Pepper, (organic, scrubbed)
- 1/2 Tbsp Lemon Juice
- 1/2 Tbsp Lime Juice
- 2 cups 100% Coconut Water (do not add all at once)
For an extra treat, add (or substitute) any of these:
- Avocado – makes it super creamy and nourishing
- Carrots – adds delightful sweetness
- Beets – adds earthy sweetness
- Apple – adds fruity sweetness
Instructions
We use Vitamix, because we do a lot of heavy duty blending. However, you can use a regular blender, but just reduce the quantities by at least half so the blender can process it without bogging down.
Place these items in blender in the order listed. Cut veggies into large chunks and push down onto the powders, ginger and greens. Add approx. 1/2 the coconut water, secure lid and start blending on low. Slowly increase speed until mix is blending, adding coconut water as more liquid is needed.
This typically makes 2 quarts of green juice. We usually mostly fill 3-4 of these shaker bottles.
Drink right away if possible—for optimum freshness—but this can store for 1-3 days to have on hand for a healthy and refreshing snack. It’s just always best fresh.
If your looking to improve your health and weight, just substituting one of these per day for whatever unhealthy treat you’re used to having, should make a huge difference in how you feel and in your overall health and weight over time.
Find more wonderful green juice recipes here.

Wishing you great gardens and happy harvests!
We are an online gardening publication sharing all things garden related! Including urban farming, family gardening, homesteading, gardening for profits, and more. We’re all about growth!
References